The biggest problem for those who create time-lapse is definitely removing the flickering during the post-production of the sequence. This quick tutorial will show you how to get rid of it using MSU Deflicker for Virtual Dub.
What is the flickering? Basically it is a flicker perceived by the human eye at the moment of playing a movie and is caused by a difference in exposure between one frame and another. If you want to learn more about flickering, we suggest to read this first of all: What is flickering, how to avoid it and how to correct it.
If you shoot in aperture priority (thus setting a fixed iris, leaving the camera to calculate the exposure time ), even in seemingly homogeneous light conditions, there is always a slight variation of exposure.
This change in light, in fact, creates this annoying problem. But you can get rid of the flickering! How? There are two ways:
- Shoot in manual mode, setting the shutter speed and keeping the aperture fixed. Unfortunately, this solution can work only under certain conditions of constant light (of day or night). Shooting a sunset or a sunrise in these conditions is impossible because we would find ourselves with the shots overexposed or underexposed. In any case, this does not mean that we cannot use this method for such projects as the starry heavens revolving around a subject or even the moon in the middle of the night sky illuminating his bow. These are both subjects of great charm.
- Use a software in post-production that eliminates the problem. Perhaps the most famous is GBDeflicker, a plugin for Adobe Premiere that allows you to eliminate the problem. Being a PRO program it can be found for a fee on this site with a trial version before proceeding to the purchase.
Learn more about What is flickering, how to avoid it and how to correct it
I recently discovered a plug-in for Virtual Dub that I was pleasantly surprised with. It’s called MSU deflicker, it is free and from the tests I’ve done I think it works well.
How to use MSU Deflicker step by step
It’s a bit cumbersome to install, but once you understand how to do it, it is easy to understand. To use this plug-in you need to download the zip file that contains the file msu_deflick.vdf and unpack it in the folder of Virtual Dub. At this point, start Virtual Dub, and go to the menu VIDEO>FILTERS.

Ok, now you are in a window for selecting the various filters. Click Add and import the file msu_deflick.vdf that you unzipped earlier.

Perfect. Once you import, the file will end up with a window as you see below, where defaults are already set to different values and parameters. Parameters: these are perfect in most cases to eliminate the flickering.

Give an OK and you will end up on the home screen of your movie with VirtualDub to process.
Before starting the development it is a good thing to set the compression of the video, otherwise you may find yourself with unmanageable files (up to 1GB). To set the compression you need to go to VIDEO>COMPRESSION.

You find yourself with a screen with several types of video compression. I am currently using the latest, Xvid MPEG-4 Codec

At this point we are ready to export our movie. So how should we proceed? It’s very easy. Just go to FILE>SAVE AS AVI, select the folder where to export the movie and give the OK. The program at this point will eliminate the flickering.

Changing the three parameters will increase or decrease the quality of the filter applied.
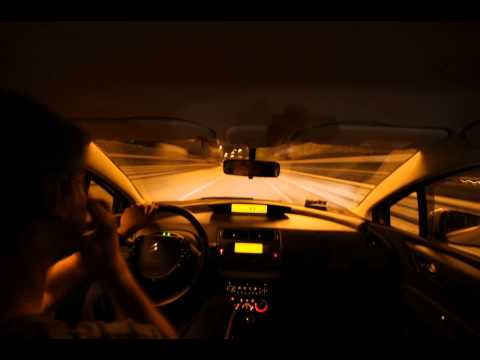
Obviously, the more the values are reduced, the more likely the end result will be poor, but here I want to open a parenthesis: as in the picture, even in time-lapse it is said that the technical perfection should be the ultimate goal.
It all depends on what you want to express; the feelings and the emotions you want to evoke in those who will look at your work. A photograph that is technically flawless with excellent light management and perfect aiming may arouse certain emotions in the audience.
However, in contrast, framing details, photographs burned or over-or underexposed arouse other feelings and the same thing should be applied to your time-lapse. Whatever you wish the outcome to be, it should not be so technically perfect that it rules out the emotional drama of what you want to express.
Side Notes
This tutorial is a Guest Post in the archive of Time Lapse Network. We thank the author for the time and kindness that he dedicated to the community.Remember to leave a comment and say what you think - it is important to us!
Please note that this article is a Italian to English translation of the original tutorial available on Time Lapse Italia, written by Davide Ferretti.