- 32SHARES
- Facebook11
- Twitter20
- LinkedIn0
- Reddit0
- Pinterest1
- Digg0
A flow motion video can be seen as the ultimate level in the hyperlapse technique.
Imagine different standard timelapse sequences brought to life moving the camera in the space while shooting, and merge them smoothly with great post production: let’s get to know what the Master Rob Whitworth has called the “Flow Motion”.
Our friend Tomasz Walczak from TL video has kindly provided a series of suggestions for Time Lapse Network explaining his personal workflow for creating a flow motion video – thanks a real lot, Tomasz.
«Flow Motion, a great way to make our timelapse sequences really dynamic & silky smooth» – Tomasz Walczak https://t.co/wpfNlW0smK#timelapse
— Time Lapse Network (@TimeLapseNet) March 8, 2016
Flow motion: what is it?
So, before proceeding with his tutorial, watch the first amazing flow-motion reviewed over here, “Barcelona GO!” by Rob Whitworth – who was so kind to answer a simple question: what is a flow motion video?
In my view Flow Motion is where the camera assumes the role of a character exploring a scene.
It’s not necessarily about a specific technique or visual trick – rather the most visually effective way of exploring a destination. – Rob Whitworth
Again, we’d love to thank Tomasz Walczak for this tutorial, which will explain some of the sequences he created in the video below, so make sure you watch this before proceeding:
How To Create a Flow Motion video?
When I first watched Rob Whitworth’s flow motion timelapse “Barcelona GO!” I fell in love with this technique. It’s a great way to make our timelapse sequences really dynamic & silky smooth.
To make a flow motion film you should be familiar with hyperlapse technique. If you’re not you can head over the hyperlapse tutorial on Time Lapse Network site or Youtube. If that’s not enough for you just go outside and shoot. Nothing’s better than experience!
Creating a Flow Motion: what gear should you use?
I love this technique also because you don’t have to own a lot of gear to create very dynamic timelapses. The gear I used to accomplish this film:
- Canon 550D with Magic Lantern
- Samyang 14mm f/2.8 IF ED UMC
- Canon 18-55mm f/3.5-5.6 IS
- Tamron 55-200mm f/4-5.6
- Bilora tripod (it’s a really oldschool video tripod – country that made it doesn’t exist since 1990 ;))
- Spider rig (for a few hand-held shots)
«Flow Motion is the most visually effective way of exploring a destination» – Rob Whitworth https://t.co/wpfNlW0smK #timelapse #flowmotion
— Time Lapse Network (@TimeLapseNet) March 8, 2016
Planning a Flow Motion video: the importance of a storyboard
If you want to connect all, or almost all shots in your film and provide smooth transitions, you should plan it first.
This process starts with illustrating your idea in your head. Then I suggest storyboarding the entire film. I’m not a good drawer, but still my storyboard helps me sometimes 🙂
Also, in very dynamic film like this it’s difficult to explain your idea to someone else. Then storyboard can be helpful.
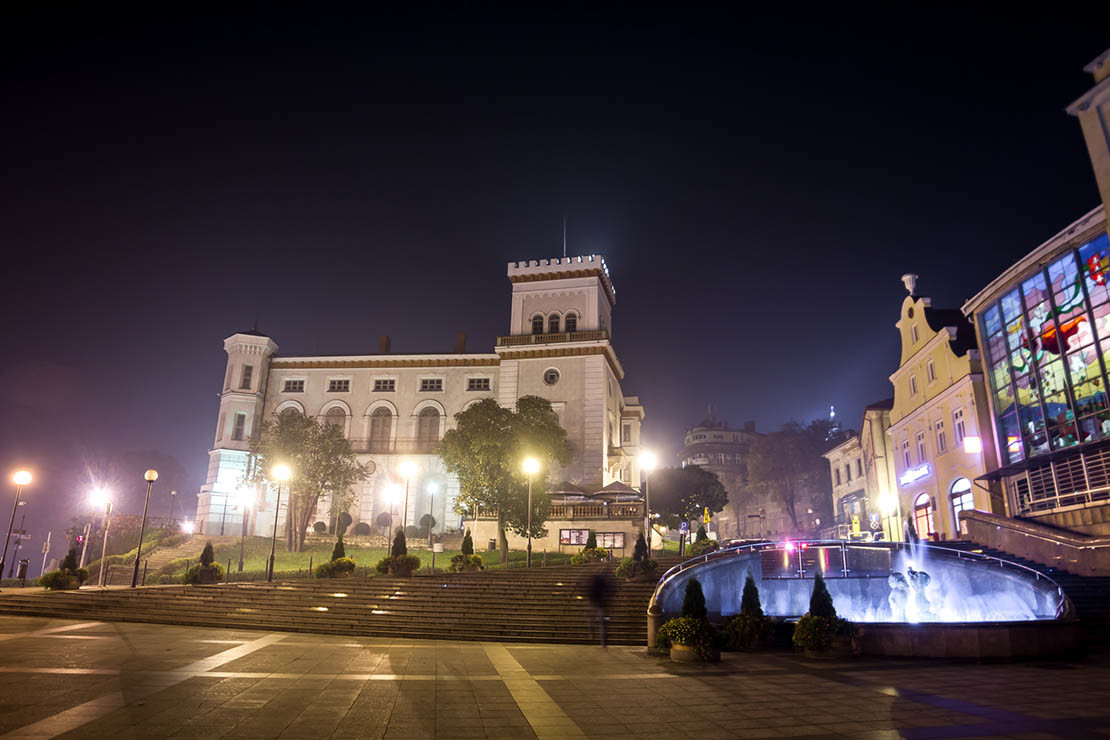
In this part you can also schedule shooting hours for each shot. In long hyperlapse shots you can sometimes struggle with changing light conditions. For example, I planned to shoot a train station shot in the beginning of my film in two different times of day. I came there in the morning to catch light on the eastern part of this antique building, than I came back in the afternoon to shoot western part.

Shooting & Editing a Flow Motion video
This kind of film could have various of tricks to achieve final look. In this tutorial I’ll explain how I shot the beginning part of my film, from 0:10 to 0:30 sec. I think it’s enough to have basic knowledge about this technique and try it on your own. If you’ll still have some questions about my film after reading this article, feel free to ask 🙂
First, coloured shot of train station is made to match the original post card of this building from 1911.
You can do this in two ways:
- print the post card & take with you on location, or
- copy a photo into your camera and use Magic Lantern’s ghost image function.
Then it’s all about finding right location and focal length.
When I started moving to the right, it’s a classic hyperlapse shot. I used a tripod & move between each photo. I didn’t change the focal length, it’s much easier to add zooming effects in post-production.
So, I shot one hyperlapse sequence from 0:14 to 0:20. Then I came back to shot the telephoto lens sequence to the inscription “Dworzec kolejowy Bielsko-Biała gł.” (0:15) also with fixed focal length. It was of course also a hyperlapse shot, static one would feel really wrong.
Making zoom transition was all about aligning those two shots, changing size and adding radial blur set to zoom type in After Effects.
Next part of the train station shot, as I mentioned earlier, was shot a few hours later to catch the sun.
In this kind of transition, second sequence needs to overlap the first sequence. Just start a few photos earlier, than you ended the first one. In the post it has to be speeded up & also I added some horizontal blur.

The Fiat 126p Car sequence
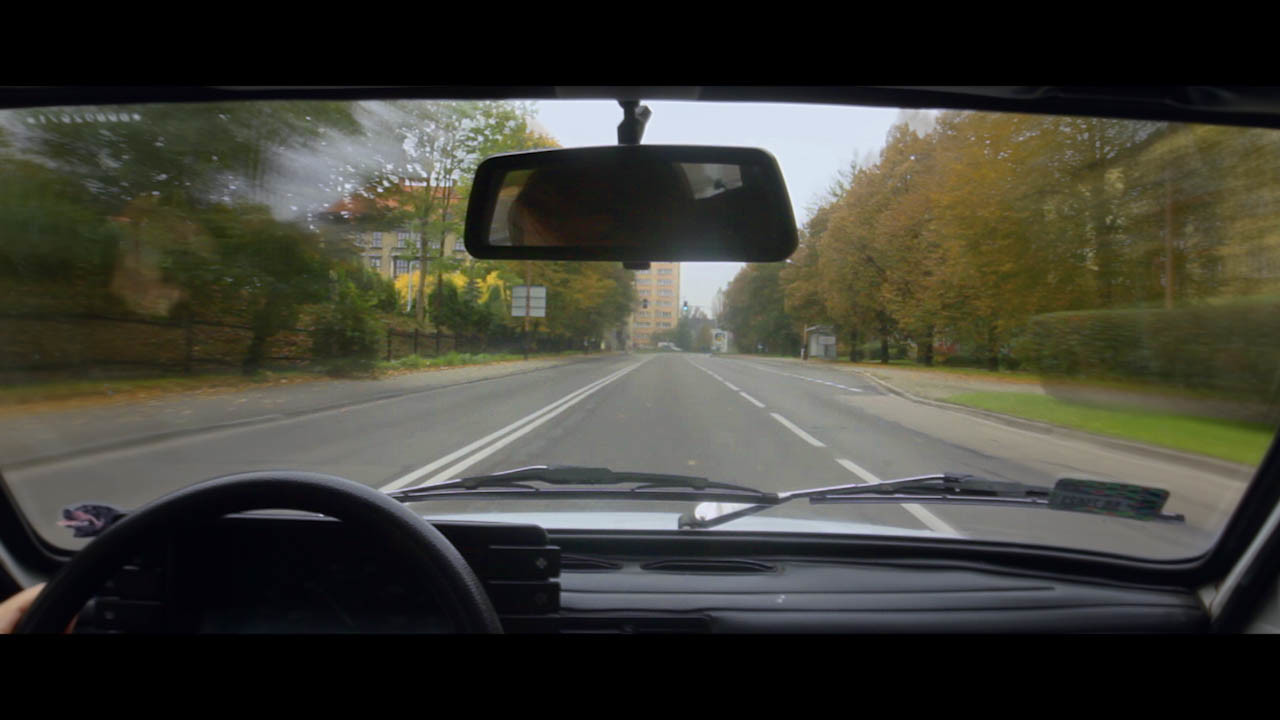
Entrance to the car (BTW, it’s Fiat 126p, car produced in Bielsko-Biała ;)) was a different shot, made from stationary set tripod.
Of course I couldn’t close the road, so I decided to shoot this as a movie, not photos. Because of that, I didn’t have so much resolution to work with in post, so I had to change focal length during the shot and aim the car.
It would be much easier to do it with follow focus attached to the camera. In post-production I had to adjust size to zoom closer to the car & also replace rear car window with footage recorded from inside of the car.
For in-the-car shots I set a tripod on the rear seat (it wasn’t easy, it’s a really small car). I used Samyang 14mm here.
In the part of “getting out of the car” for another building shot (0:26) I’ve got to operate a tripod in the car to aim the building through the window. Building shot was done as a hyperlapse sequence. I made one sequence by day, and one similar by night.
To simulate getting out of the car I started the building shot from moving few steps forward, then parallel to the left.

The theatre sequence
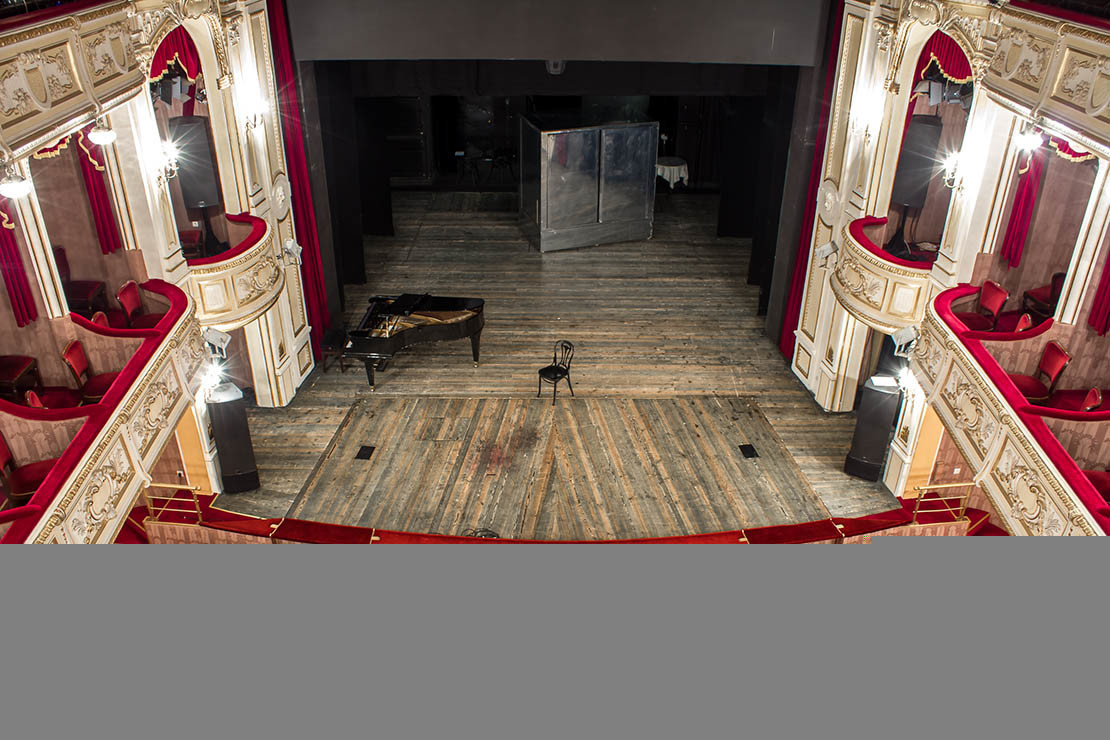
In addition, I’d like to explain how I’ve done a part of theater sequence (1:49-1:51).
To get a shot over the chairs, I took two photos in each row aiming the chair on the stage.
After this part (when I got close to the chair) I went two floors higher & placed the camera static on the tripod & aimed the chair with telephoto lens.
I’ve been slightly changing the focal length after each shot. When I got to 55mm (Tamron 55-200mm), then I got 18-55mm lens and went all the way to 18mm. After that I took a few shots with 14mm (to allow zooming in post between 18 and 14mm).
I finished this sequence by making hyperlapse on the balcony of this lovely building.
If you still have any questions feel free to ask me!
Please subscribe to my Facebook page, and YouTube channel.

