
Learn the 10 most precious advices you need to know before shooting a Milky Way time-lapse thanks to Mark Gee – The Art of Night tutorial.
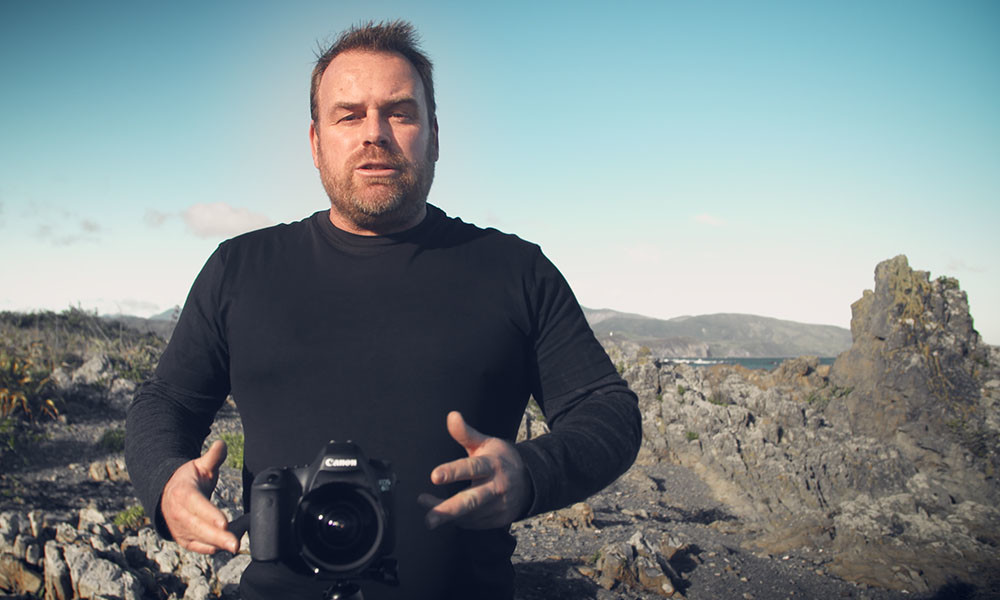
Astrophotography is one of the most spectacular forms of photography there is, and when you add motion to it by shooting time-lapse, you can capture these amazing visuals of the rotating night sky above dreamy landscapes. I use the Syrp Genie for adding camera motion to my astro time-lapses which really adds production value to your timelapse by adding smooth motion.
Here’s 10 points to consider when shooting a motion controlled astro time-lapse.
- When scouting for a location, head out in the daytime first, and use one of the smartphone astro apps which has a augmented reality function like PhotoPills or Starwalk to plan your composition with the stars.
- When planning to do a motion controlled camera move in your time-lapse, it’s always good to find a composition which has foreground interest like rocks or trees for example. This way you will get some interesting parallax against the night sky as the camera moves through your shot.
- You will need to shoot your astro time-lapse with all your settings on manual, this includes white balance and your focus. I tend to use tungsten or incandescent mode for my white balance, which can be changed to your liking once you get it in post.
- Make sure that the long exposure noise reduction is turned off on your camera – with this setting on, it will take twice as long as your exposure time before writing the image to your card, and that is something you don’t want for a time-lapse. Instead, we will be using noise reduction in post processing.
- Getting sharp focus is probably one of the hardest thing to do in an astro time-lapse. You could autofocus on a distant object in the daytime, then set your focus to manual and tape your lens ring to keep it locked off. But personally I find the live view method is a lot more accurate. It’s where you find the brightest star or object in the sky, and use live view on your camera to line it up close to the center of frame. Then zoom in 10x on your live view and manually adjust your focus ring on your lens until the star looks sharp.
- You will need to shoot with a long exposure and high ISO settings to capture a starry night sky time-lapse. Settings will vary depending on environment lighting conditions and the camera you are using, but in a dark sky environment on my full frame sensor Canon 6D and a Canon 14mm f/2.8L lens, I typically shoot with a 30 second shutter and an aperture of f/2.8 with a ISO of 3200.
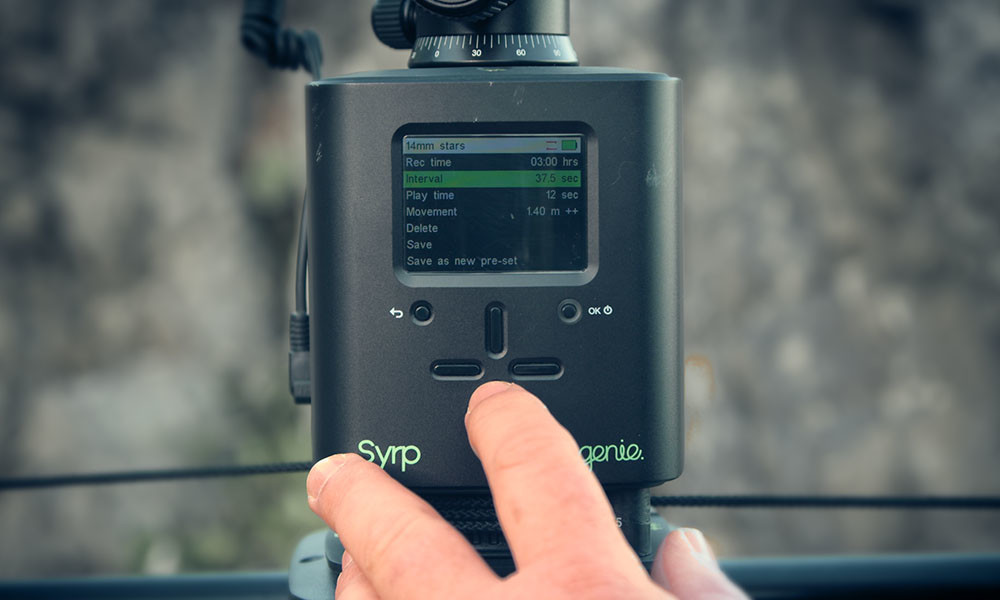
- Make sure you set your interval on your motion control unit so it allows enough time to write the image to the card before firing the next shot. I tend to use the 5 second rule, so if I’m shooting a 30 second exposure, my interval will be 35 seconds between shots.
- Once you have your camera and motion control setup, preview your time-lapse move to make sure you’re happy with the movement and composition. You can shine a torch on your landscape in frame and preview the move with live view on your camera. I also tend to take a photo at the start and end position of the time-lapse, so I can see what I will end up with as far as the composition and exposure is concerned.
- Before setting your time-lapse off, make sure you do a final check of everything. Make sure everything is set manually on your camera and your focus and exposure is correct. Check that your interval and general settings like direction of travel are correct on your motion control unit. And double check you don’t have your lock engaged on your slider…I’ve been bitten by this a few times in the past! Once everything is in order, set your time-lapse off and sit back to enjoy the stars!
- After you have all your images downloaded and ready for processing, as tempting as it is, make sure you don’t overcook your processing – it might look great to you on a single image, but once saved out as a movie, you will end up with a lot of noise and artifacts in your time-lapse.

I hope you’ve found these 10 points on shooting an astro time-lapse helpful – make sure you also check out the video tutorial to see how I use the Syrp Genie for my astro time-lapses – I cover everything from setting up the Genie, to processing a time-lapse from start to finish.
Video tutorial – How to setup a motion star timelapse using the Syrp Genie
In the following Star Timelapse tutorial you’ll learn how to setup a motion control timelapse using the Syrp Genie and Magic Carpet. This guide to Astro Timelapse covers everything from location scouting to camera setup and includes a detailed section on post production using Adobe Lightroom and LRTimelapse.
In the field:
- 0:49 – Location Scouting – Mobile Apps | Composition
- 3:03 – Camera setup – Image Quality | Shutter | Aperture | ISO | Focus
- 4:33 – How to avoid star trailing
- 5:27 – Setup the Genie – Rec Time | Interval | Play Time
- 6:29 – How the interval works
- 7:43 – Setup the movement – Movement length | Ease in / out
Post Production:
- 8:20 – Introduction and workflow setup
- 10:32 – Color adjustments and neutralising the image
- 11:32 – Lens Correction
- 12:20 – Set black and white points
- 13:20 – Color adjustment – Clarity | Tone Curve
- 16:30 – Local Sky Adjustments – Graduated Ramp
- 19:37 – Technical Clean-up – Noise Reduction | Artifact clean up
- 22:47 – Sync color adjustments to all images
- 24:22 – Export all images to LRTimelapse
- 26:08 – Export out a movie from LRTimelapse – Codec | Output size
Credits
Mark Gee is an award winning photographer, time-lapse filmmaker & digital visual effects supervisor based in Wellington, New Zealand. He has worked on many high profile and Oscar award winning feature films. His love of the New Zealand landscape is a big part of the inspiration for his photography.
Visit his website at www.theartofnight.com
This post appeared for the first time on Syrp.co.nz.
